How to Remove Linoleum Floors
Linoleum is often used in high-traffic areas, including the hallways, bathrooms, and kitchens, and in a busy household will receive a lot of wear and tear over time. At one point, you’ll need to come to a decision regarding house remodeling and learn how to remove linoleum floors to replace them with another new type of linoleum, tile, or wood flooring. It may seem easy to remove old linoleum, but what can make it hard are the remains of the glue that is stuck to the floor. (See our article on how to clean linoleum floors here) (Attribution Image 1) JonGoldberg from Flickr (Creative Commons License)
Equipment needed for removing linoleum:
– Utility knife
– Wallpaper steamer
– Floor scraper, utility scraper, or oscillating multi-tool that has a scraper attachment
– Paint thinner or isopropyl alcohol, which is optional
The linoleum which is attached to the subfloors may create two layers because of the sticky paper or underlayment utilized when doing it. In order to remove the linoleum, you may take into consideration of doing the following.
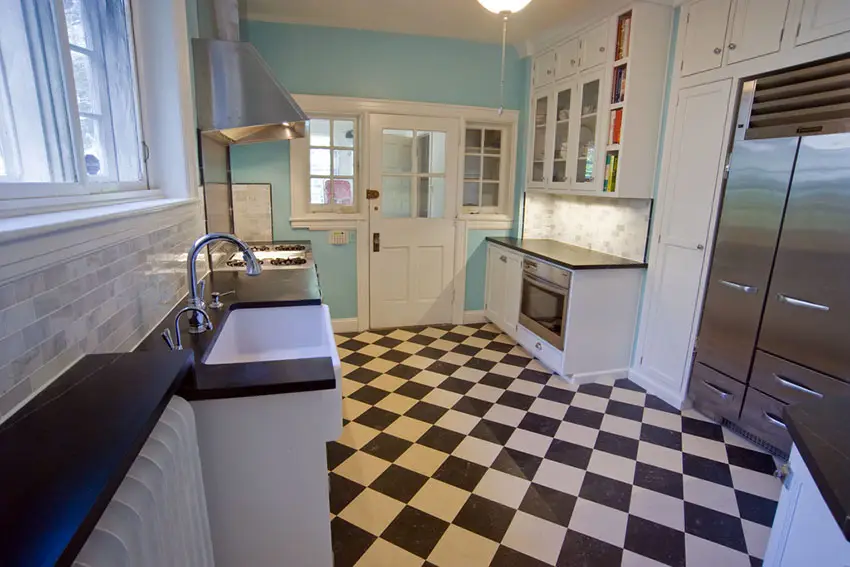
(Image 2) sharon_k from Flickr (Creative Commons License)
Part One – How to remove the linoleum topper
1. You need to clear the area by putting away all the furniture or appliances.
2. Start working in small sections by cutting the linoleum approximately 6 to 12 inches strips using the utility knife. If the linoleum has a tile pattern then the outlines can be utilized as your guide in cutting the linoleum.
3. You may make use of a heat gun to heat the linoleum topper. This aids in softening the topper so that it can be easier to remove. Keep in mind to heat one section at a time for easy removal. To be resourceful, you may use a hair dryer if you do not have a heat gun, however, the effect will not be the same because of the amount of heat provided.
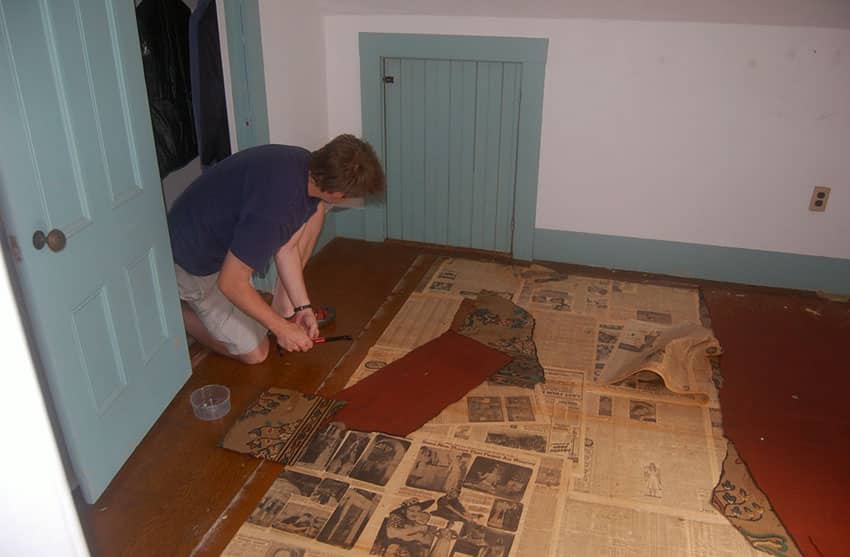
4. Do a manual peeling of the strips. You can use the scraper or edge of the oscillating multitool in doing this. Position it under the linoleum where the score marks have been made then lift the edges for every section until the linoleum has been brought up. Work on this in smaller sections until the removal of the first layer or the linoleum topper. A petroleum jelly can also be used by rubbing it on the scraper blade then scraping underneath the pre-cut seam so that the linoleum topper can be lifted.
(Image 3) KenDyck from Flickr (Creative Commons License)
Part Two – How to remove the adhesive paper or the underlayment
1. As a precaution you may first want to consider having the old linoleum tested for asbestos because this can be dangerous especially when inhaled. It can be a good idea of you hire a professional abatement contractor to do this. It is important to wear protective garments including the goggles and respiratory mask so that any possible asbestos fibers can be filtered out from the body. Regardless if the floor contains asbestos or not, it is always important to wear these safety gear. It may also be less dangerous if you dampen the sheet with water prior to its removal because airborne transmission can be lessened.
2. For delicate floors – Use a putty knife in removing the adhesive or underlayment. The pressure that you will need to use in scraping depends on how strong the adhesive is. The same in removing the linoleum paper, you can make use of the heat gun as well as the automatic oscillating scraper to remove the adhesive. It can become hard to access the oscillating scraper blade under the adhesive however the heat gun aids to soften the adhesive for easy removal.
3. For durable subfloors – You may soak the adhesive using the boiling hot water and let it absorb for about fifteen minutes. Water application is only possible for concrete or replaceable plywood subfloors. Application of water to other subfloor types may lead to warping. To avoid mess when putting the boiling water onto the adhesive, you can line the floor to sections using the towels. Pour the hot water onto the towels and let the towels absorb the water. Allow fifteen minutes prior to the removal of the towels. The next thing to do is to manually scrape the adhesive. A larger scraper can be ideal for use to make it easier to get the moistened adhesive.
4. To make the area neat, make use of the wallpaper steamer and have it warmed up. Put the applicator pad of the steamer on top of each section of the adhesive and allow steaming for about 60 to 90 seconds. Then, move the steamer to another section and scrape off the part that has been steamed. This method can be faster wherein a hundred square foot floor can be worked on in less than two hours.
Part Three – Finishing the linoleum removal process
1. A chemical stripper can be used by applying it to the remaining adhesive. You may use the paint stripper as an alternative. Isopropyl alcohol can also be used as an alternative. Keep in mind that you need to follow the instructions according to the manufacturer.
2. The adhesive which has undergone the chemical treatment can now be removed using the putty knife at a 45-degree angle. This can be easy especially that most of the adhesive has already been removed in the previous process.
3. To remove small debris, you can sweep or vacuum the exposed subfloor.
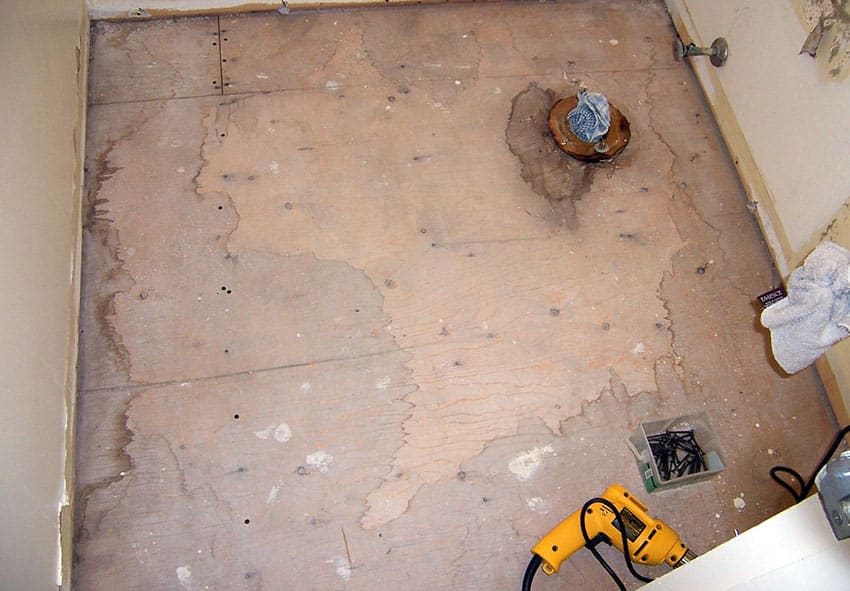
4. The subfloor is now ready for shining to give it a new look.
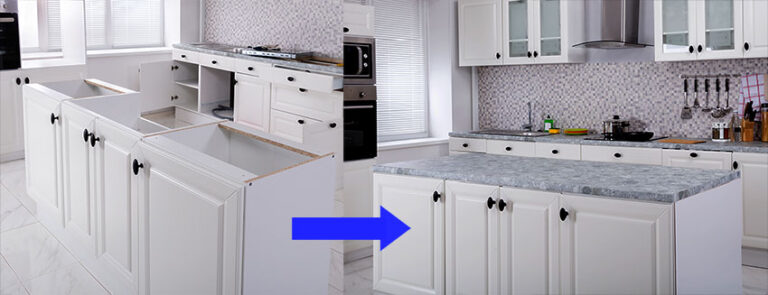
(Image 4) JonGoldberg from Flickr (Creative Commons License)
Linoleum can create a good-looking design and is affordable to install. However, there will always be a time when you want to change it or have it removed. You must get prepared for the important steps needed for linoleum removal so that your work will go smoothly and quickly. With the steps provided above, removing linoleum should go smoother and allow you to do it yourself without hiring a professional remodeling company. All the materials and tools needed for the job can be found at different hardware stores. Also, alternative materials and methods of removal are available for use when you are not able to find the needed equipment so you can finish the project.
(1) JonGoldberg from Flickr (Creative Commons License)
(2) sharon_k from Flickr (Creative Commons License)
(3) KenDyck from Flickr (Creative Commons License)
(4) JonGoldberg from Flickr (Creative Commons License)[/expand]
Related Interior Design Article You May Like:
To showcase highly specific designs, some images on this website use advanced AI-generation software to illustrate ideas and room inspiration. See our editorial policy to learn more.

Upload a photo and get instant before-and-after room designs.
No design experience needed — join 2.39 million+ happy users.
👉 Try the AI design tool now