How to Fix Water Damaged Wood Floor
 How to fix water damaged wood floor is a question that can eventually come up for anyone that lives in a house with hardwood flooring. A hardwood floor can be damaged because of several factors.
Among the most common reason is due to water damage. This can occur from a spill, leaky roof, or appliance such as a water heater or dishwasher. Below are some helpful tips that you can take into consideration in fixing the water-damaged wood floor. [toc]
Step 1 – Remove the stains
If the stain of the hardwood is caused by water then removal of the stain will not be very hard. In this case, you can sand down the boards which have been affected. Afterwards, the oxalic acid crystals can be used in removing the water stain. Reapplication can be done then followed with coating with the use of polyurethane sealer.
However, when the boards have too much damage it can often result in them needing more work than expected. When the water has already warped the boards then you will already need to have them replaced. The new boards will need to be sanded on its entire area and refinishing will be done to have a good match.
Step 2 – Remove the damaged boards
It is necessary to remove the boards from the floor if they have already been warped. If they are already bending upwards then they are most likely unattached to the floor already. You may make use of a saw in cutting into the floor on the affected part.
The pry bar can be used in pulling upwards on the boards which have been damaged. You can pull them away from the floor. Having no experience to lace the boards back to the middle of the floor is of no worry because you can also take the boards up all the way to the wall.
Step 3 – Installing the new boards
When the damaged boards have already been cleared out then it is time for the installation of the new hardwood. It is important that you make sure of getting the similar type and grade which is used currently.
Moreover, you will have to let the new wood in acclimating to the new environment prior to the installation. This will have the assurance that it is going to fit together well with the hardwood that already exists.
A new board is fitted into the adjacent board by means of sliding the groove to the tongue of the other board. The staples are shut diagonally through the board’s tongue. The installation of the boards is continued until the area has been filled.
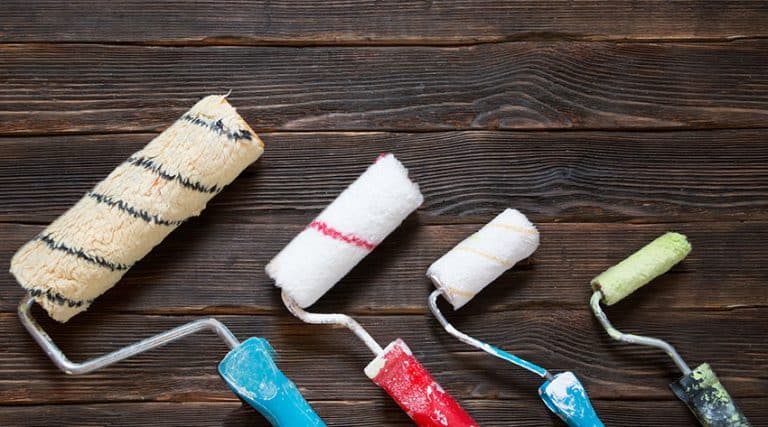
Step 4 – Sanding the floor
The moment that the wood is already in place then you will have to sand the whole floor using a sander. This is done by taking off the layer of stain or finish and getting down to where you have been working with the raw wood again.
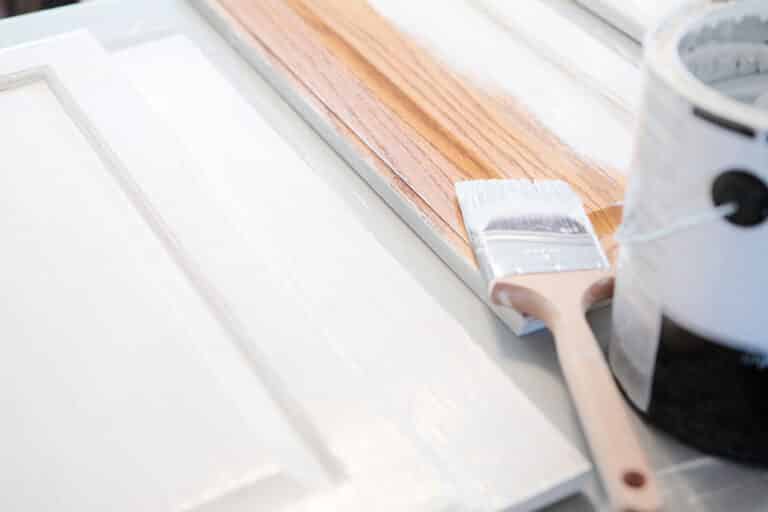
Step 5 – Staining the floor
It is needed to stain the floor to get it back to its former beauty. In order to have consistency, the entire floor should be stained throughout. Before proceeding to the next step, let the stain dry thoroughly first.
 Step 6 – Finishing the floor
 Step 6 – Finishing the floor
Following the staining of the floor, two coats of polyurethane should be applied for finishing. To do so, the first coat is applied then given time to dry. Then, the second coat is applied and allowed to dry prior to using the floor.
[expand title=”Show Image Sources” swaptitle=”Hide Image Sources”]
OlgerFallas from Flickr (Creative Commons License)
[/expand]
Related Wood Flooring Articles You May Like
Types of Kitchen Flooring – Direction to Lay Wood Floor – Hardwood Floors in Kitchen Pros and Cons – Cost of Wood Flooring