Creating a Garden Path with Stepping Stones: DIY Project

A garden path lined with stepping stones offers a charming way to navigate your garden or yard. The stones can curve through your flower beds or provide a direct route from the patio to the garden shed, hot tub or sitting area. It’s not as hard as you think to create a beautiful design that will enhance your yard and provide a useful walkway.
Choosing the Stones


Upload a photo and get instant before-and-after room designs.
No design experience needed — join 2.39 million+ happy users.
👉 Try the AI design tool now
You will have to see what is locally available and ask the stone supplier what they recommend for your area. you may even be able to find low cost or free options on your local Facebook Buy Nothing Sell Nothing Group, or on Nextdoor.
Just be sure the stones are at least 2 inches thick so they don’t crack. The average distance between stones is around 18 inches from center to center, but you can adjust as desired. To make it easier to see the layout you can use spray paint or add stakes to see where each stone needs to sit.
Outlining the Path
Make your layout flexible by using twine, ropes or garden hoses to shape the path. Adding curves will give it a visual flow. Curve it gently around trees and beds for an organic feel or make it straight and direct for a more modern geometric look. Place the stones along the outlines to test the pattern and spacing.
Digging the Holes

Leave the positioned stones in place and dig around each one, removing a full sod section to create an inset home for every stone. The hole depth should allow the stone’s surface to sit about an inch above ground level after adding a layer of sand. The sand layer should be about 2 inches deep to provide a sturdy base level for the stones.
Be careful not to set the stones below the level of the nearby sod. I made this mistake once and it caused the grass to grow over the top and obscure the stones. However, you also don’t want to place them too high above the sod or they may get in the way of your lawnmower and maybe even chip the blade if they get in the way.
Leveling and Securing

Add an inch of builders sand to each hole and use a level to ensure it’s flat. Carefully lower in each stone, checking again for level. Stand on each stone to check the stride and make sure it’s comfortable for walking.
Fill around the edges with soil, tamping as you go to stabilize. A final check with a long board resting across several stones lets you spot any last tweaks needed.
Tip: Walk along the path to ensure it feels level. Consider slight grading to allow water to run off and prevent puddles. Wet the sand slightly before tamping to help it compact better.
Finishing Touches
Once all the stones feel “planted”, sweep off any excess soil or sand. Over weeks and weather, natural settling may need a sprinkle of added sand here and there to keep your path even underfoot. But otherwise, just enjoy your new garden walking path!
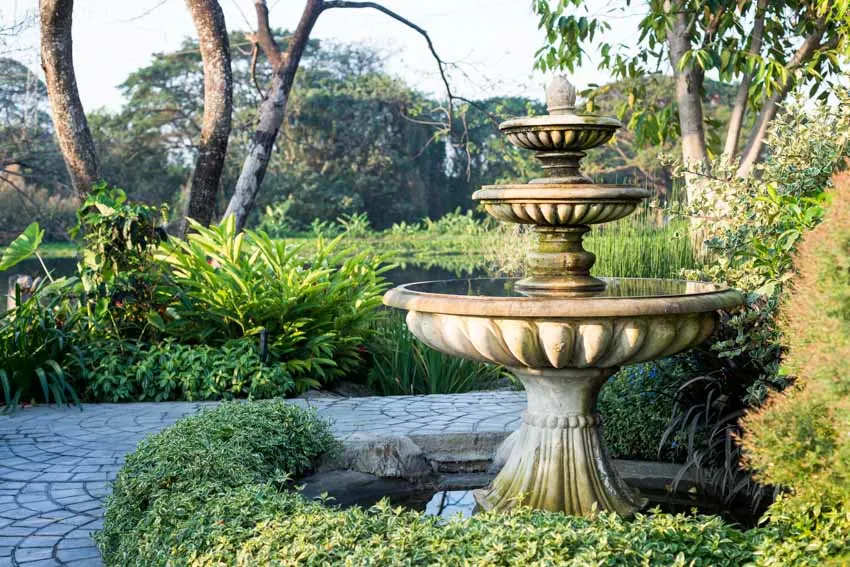
To further enhance the design add outdoor lighting along both sides of the pathway. You can also integrate your favorite outdoor decor, yard art or sculptures. Include a seating area somewhere along the pathway to further add to the enjoyment.
Tip: Use a stiff broom to remove excess dirt and sand. If you see settling under a stone add more sand underneath to even it out. For a more polished look, add a thin layer of gravel or mulch around the stones.

Tools Needed
- Tape measure
- Level
- Wheelbarrow
- Knee pads
- 2 lengths of twine, rope or garden hose
- Stakes to mark the path (Optional)
- Shovel
- Trowel
- Broom
- 2×4 (for Smoothing)
Materials Needed
- Stepping stones of your choice
- Sand
Time to Complete
- Beginner: 6 to 8 hours
- Intermediate: 4 to 6 hours
- Advanced: 3 to 4 hours
Did you try this DIY project or see anything we missed? Let us know your thoughts in the comments.
To showcase highly specific designs, some images on this website use advanced AI-generation software to illustrate ideas and room inspiration. See our editorial policy to learn more.